Solutions for the first 11 puzzles range from straightforward to fairly complex. They start off relatively easily and gradually get harder around Puzzle 9, where you’ll need a great deal of tech points to succeed.
The First Chief puzzle 1 – Have villagers try on the robe in the amphitheater until you find one that fits the robe. That villager is the first chief. In some cases this might be a child.
Harvesting honey puzzle 2 – Honey is the initial source of food for the village. To get it, you need to make the bees less of a threat so you can harvest. To do this, build a fire in the fire pit. Dry grass is located near the waterfall. Wood is near the beehive. After gathering these two ingredients, place a villager on the firepit to start a fire. Then go collect a torch from near the beehive and use it to smoke out the bees. From there, villagers will start collecting honey.
The Alchemy Lab puzzle 3 – You need to make sure you have someone actively researching to get to adept level as the village children find new collectible objects. Once you have an adept scientist, you can use the scientist to gather the red striped pot, the yellow striped pot, a brown pot, a gray
bowl with spoons, and a short spear to restore the alchemy lab.
The Roster of the Dead puzzle 4 – takes forever to uncover. You remove leaves from the right side of the lower right corner of the village using builders. Even adept builders will take a long time to remove all the leaves. Be patient and be sure to keep villagers on task as they frequently wander away from this project. This is a good one to do in combination while completing other projects.
Weather Dancing puzzle 5 – Based on my experience, I recommend completing this puzzle out of order. You need to purchase Leadership level 2 to complete this and have 3 adept farmers. Drag your Chief on the fire and then drag 3 adept farmers on the fire. All 4 villagers will dance and learn they can control the weather.
The Lift puzzle 6 – I recommend doing this before Weather Dancing. Even aggressively racking up tech points, you’ll have to choose between upgrading Leadership and Restoration. You can complete more puzzles more quickly by upgrading Restoration first. For The Lift you need Restoration Level 2 and 3 adept builders to work on the “Strange Machine” in the dirt area. Drag the builders on the machine and they will repair it.
Rubble puzzle 7 – This puzzle seems like it takes far too long to complete. Restoration Level 2 is needed for this, which you should already have if you worked on The Lift. Drag a villager to the pile of rubble below the doctor area to start removing boulders. More villagers reduces the time this takes, as does having the chief direct work here. You’ll start having pieces of the stone tablet collection appear here for children to gather once you start on this project.

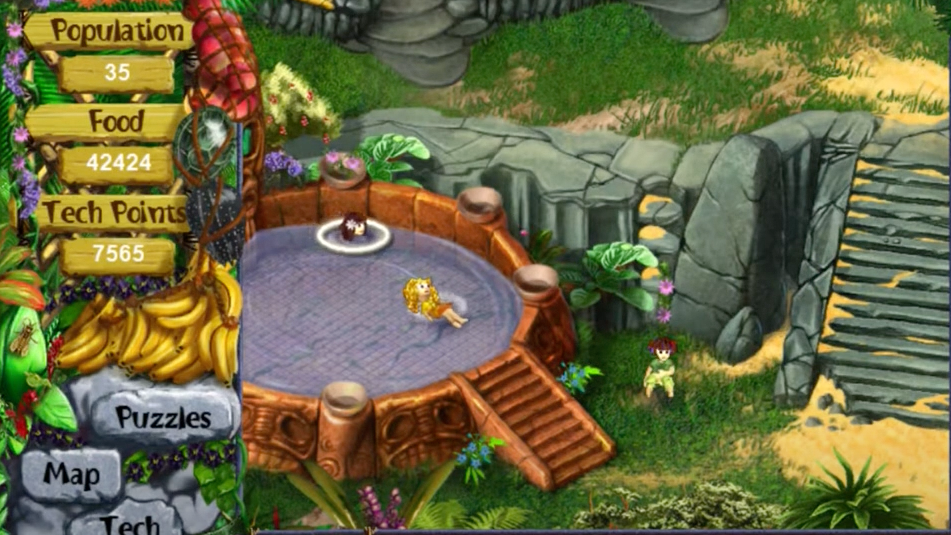
The Ancient Bath puzzle 8 – This puzzle can be completed by a portion of your village while the Rubble is also in progress. You need a Master Builder in order to work on the bath. First drag the Master Builder to the “chalkboard” in the Alchemy lab, then after drawing plans, drag the builder to the bath. Other builders can assist once the plans are drawn. This is puzzle 8.
The Statue puzzle 9 – You’ll likely complete the Orchard and banish the sharks (see below) before having enough tech points for the statue. The Statue requires both Restoration level 3 and Leadership level 3. You need a master builder to draw up plans after the bath is complete. Next drag a villager to the path leading to the door and have them create a scaffold.

Next drag your chief to the statue to supervise work (you will be warned you need more leadership if you don’t have Leadership level 3). The chief must supervise the statue in order for it to get completed. If the chief wanders away, building will stop.
The Orchard puzzle 10 – This requires planting 3 seeds in the dirt. The first one was there at the beginning of the game and if you’ve been following these directions, it’s already planted. The other two seeds require having someone ride the lift and bring them down. The lift only goes up when it rains. If you don’t want to park someone on the lift waiting for rain, place a villager on the lift then do the Weather Dance (above) to make it rain.
Banishing the Sharks puzzle 11 – You will want fish as a food source and this is how to get fish. You must have already completed puzzle 3 in order for this to work, and you also need to upgrade to Nature Level 2 or Magic Level 2. I chose Nature and then made a potion from the Pitcher Plant and 2 Black Orchid Plants. If you choose Magic, the potion combination is 1 Berries and 2 Roses. Both the berries and pitcher plant are located near the upper left of the Alchemy lab, but you can’t see them until you upgrade to level 2 of Magic or Nature.
Also – You can try your luck without it, but you’ll likely need to purchase Alchemy to pull this off. Once you have the required materials, have a villager carry the resulting potion to the ocean to scare the sharks away.