Years ago taking screenshots was horribly complex without installing extra software on your computer. You’d basically capture the entire screen and use a photo editor to crop out everything you didn’t want to include. And forget about marking up the screen shot with text or highlighting unless you had some pretty solid photo editing chops. Taking a screenshot on desktop or laptop computers is now infinitely easier.
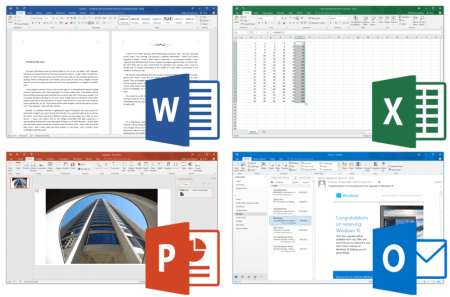
Thankfully those days are far in the distant past. Both Windows and macOS offer powerful tools built right in to your computer to make screenshots easy. You can capture a screenshot on your desktop and quickly communicate your thoughts about the image with built-in tools for marking up the screen capture. It’s also easy to share a screenshot PNG file via your favorite messaging app.
Windows Snipping Tool
For many versions now, Windows includes the Snipping Tool as a convenient approach for capturing some or all of the screen. You can find it either by searching for ‘Snipping Tool’ from the start menu or activating it automatically with the combination of Windows Key + Shift + S.

The default mode for Snipping Tool is to capture a rectangular area, but you can also choose from several other options:
- Rectangular mode: captures any area you highlight on screen in a rectanular shape
- Window mode: captures the current active window on the screen
- Full-screen mode: captures everything on the screen
- Free-form mode: captures a non-rectangular shape based on where you draw on the screen with your mouse
Once you’ve selected the area on the screen that you want to capture, Snipping Tool copies it to the clipboard. A notification will also pop up on the screen. If you click that notification, you can then open the screenshot and mark it up.
One really cool feature of the Snipping Tool is being able to copy (or hide) text that is displayed on the screen using the Text Actions feature. There’s also a timer you can set, which allows you to set up your screen exactly the way you want it to be captured (for instance, having a menu open in an app), with a countdown timer that lets you know how long you have prior to the capture.
macOS Screen Captures
macOS has all the screen capture functionality built into the Preview app. You can access the screen capture functionality directly from the File menu in Preview, which allows you to make a selection, capture a Windows, or capture the entire screen.

Trying to start from the Preview app can be a little frustrating – I find it easier to use keyboard shortcuts at the moment I’m ready to capture the screen. The shortcuts I use most often are:
- Entire Screen: Shift + Command + 3
- From Window: Shift + Command + 4 + Spacebar
- From Selection: Shift + Command + 4
After you capture the screen, your Mac will briefly show a preview of the capture in the bottom right of your screen. Click on this and it opens the screen capture in the Preview app where you can mark up the image, add text, highlight with a highlighter tool, add shapes, and perform quite a few other editing options.

If you forget to click on the preview before it disappears, you can also open the screenshot in Preview and edit it later too. For additional desktop screenshot options, you might also consider SnagIt.